I have spent a small fortune sourcing and trying out new and interesting, and absolutely beautiful incenses over the years and I always thought, I could elevate this smell with this other scent, or if they added this in it would really enhance this particular incense – and then it occurred to me; if I think I know it all why don’t I just make my own? So that’s exactly what I set out to do, to learn how to make my own, and give it a go in real time.
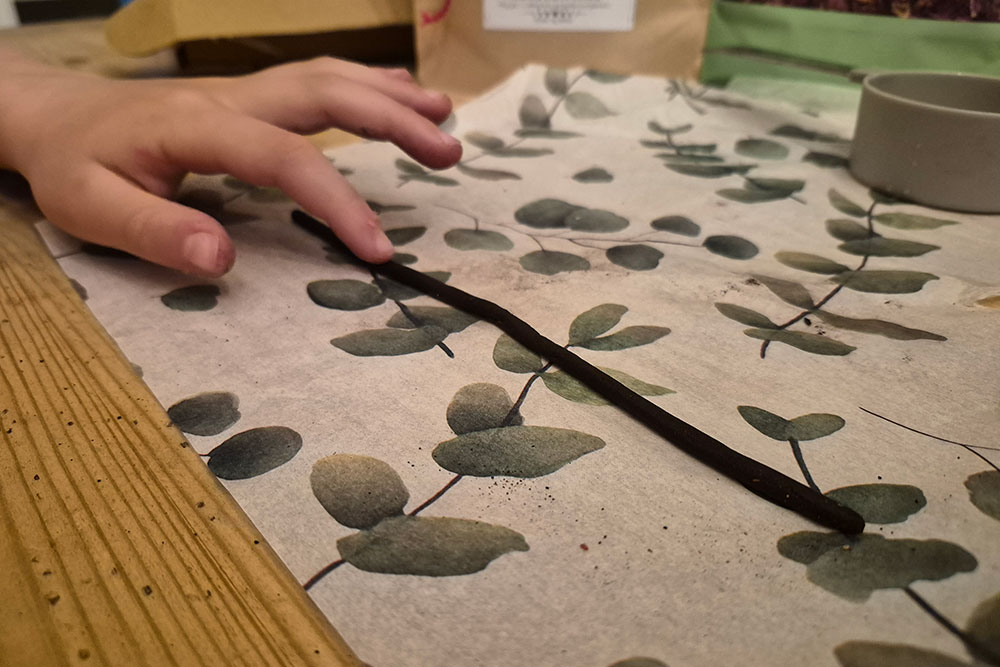
There’s a certain allure in embracing ancient traditions, especially in modern society and it can connect us to the essence of nature and self. The art of crafting your own incense is one such endeavour; a captivating fusion of creativity and mindfulness. So come, step into this fragrant realm with me as we embark on a guide to creating your own incense, exploring a myriad of ingredients that evoke ethereal atmospheres and soothe the soul. The pictures included in this article are the real-time pictures of my son and I making our own incense…A forewarning, it will not be perfect, but we will give it our best shot!
The Alchemy of Aromatics
All jokes aside, at its heart, incense-making is an alchemical process that transforms raw botanical materials into fragrant offerings that engage the senses and soothe the spirit. The harmonious dances of scents, sight, and touch intertwine to create a sensory experience that transports us beyond the normal ‘everyday’ feelings. Now my favourite part…
Ingredients that Nourish the Soul
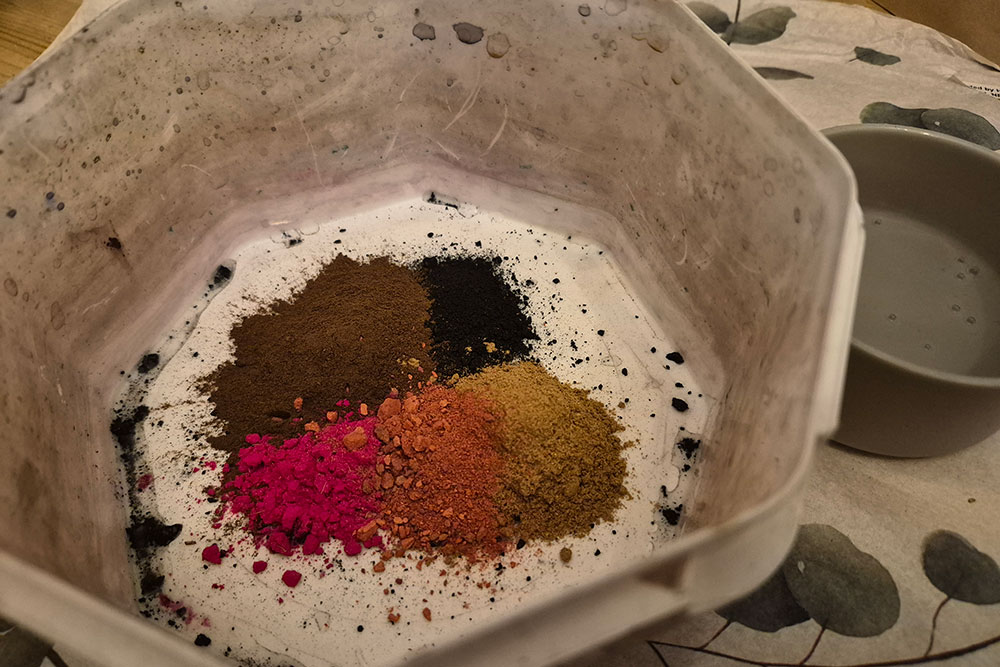
The cornerstone of your incense journey, and the best bit for me personally, is the selection of ingredients. Here, the world of possibilities opens up, with an array of herbs, resins, spices, and woods awaiting your creative, individual imagination! Let’s delve into the options:
Frankincense and Myrrh: These timeless resins are the backbone of many incense blends, and definitely had to be included in mine! They’re each known for their spiritual and grounding qualities. Two of the best scents available in my opinion.
Lavender: A symbol of calm, lavender lends its floral grace to your incense, promoting relaxation and tranquillity.
Sandalwood: With its earthy warmth, sandalwood invites a sense of inner peace and enhances meditation.
Cinnamon: The aromatic spice brings warmth and vitality, making it perfect for energising spaces. It’s also amazing at Christmas time of course.
Rose Petals: Such delicate additions, rose petals infuse your incense with love and compassion.
Patchouli: Earthy and rich, patchouli anchors your senses and encourages a connection with the present moment.
There are so many more on the market that are available so be sure to read up on the ones you come across and choose the ones that stick out to you. I personally chose Dragon’s Blood, Juniper, White Sage, Yerba Santa and of course, Frankincense and Myrrh resin.
Creating Your Signature Blend
The magic of incense-making is in weaving your unique creation into each blend you choose, it’s all about your creativity and favourite scents! Begin by selecting a base, a resin or wood that serves as the foundation. Grind it into a fine powder using a pestle and mortar, or you can buy powders already made up if that’s easier. I did actually buy Makko already powdered which came in so handy (it’s just a little pricier)!
Next, add complementary ingredients to your base. Balancing scents that resonate with your desired ambiance is an artful practice. Use gentle floral notes for relaxation or invigorating spices for focus. Experiment with proportions until you find that harmonious sweet spot that speaks to you.
Binding Agents
To mold your incense mixture into shape, you’ll need a binding agent. Natural substances like honey, gum Arabic, Makko, or tragacanth gum can be dissolved in water and added to your blend. These agents help the incense hold its form while burning.
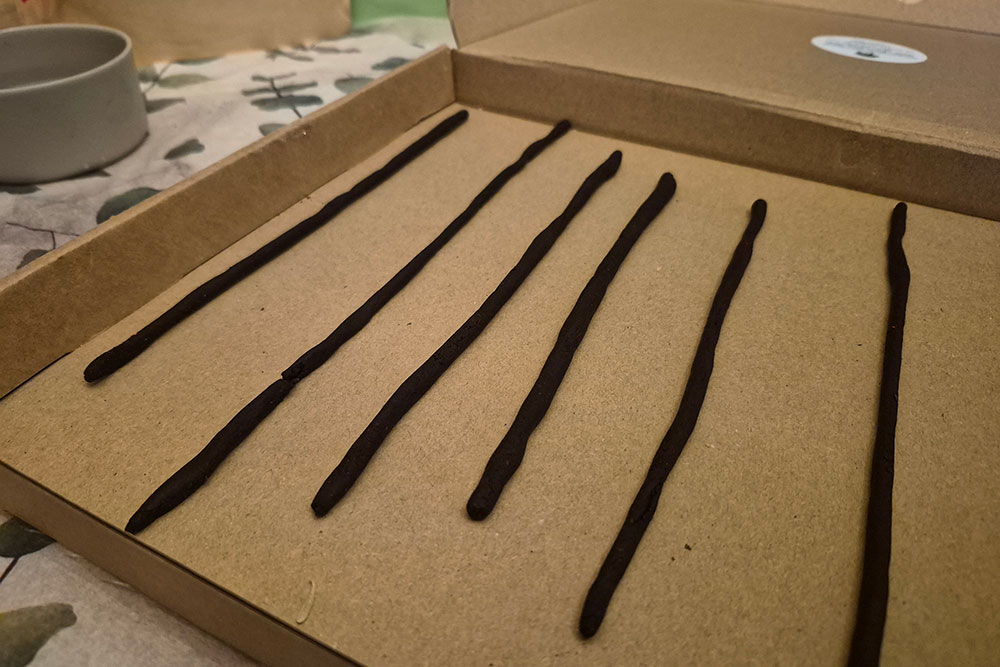
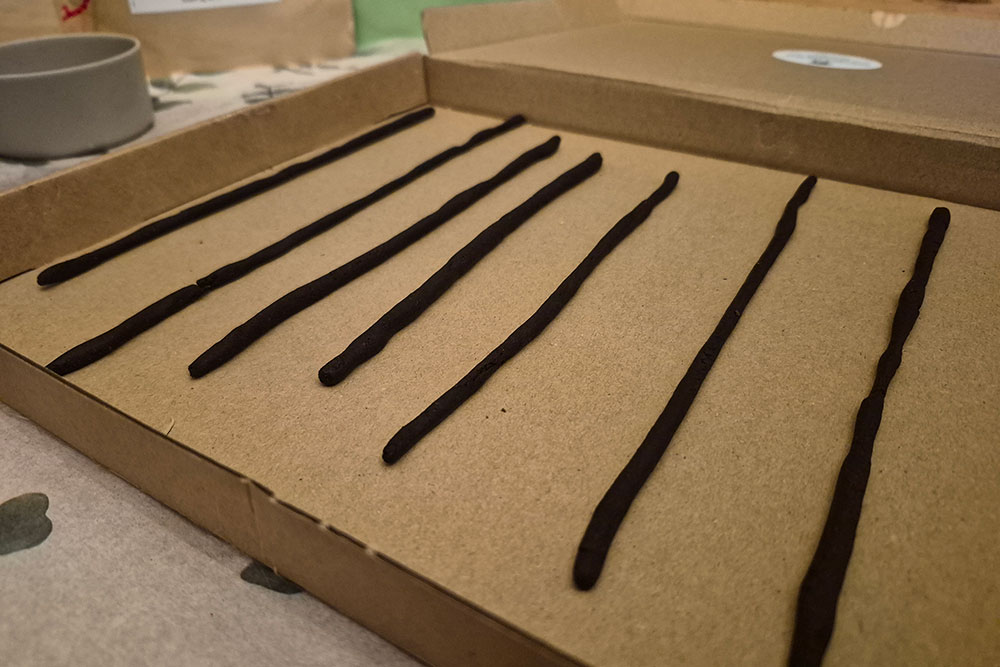
Shaping & Drying
With your mixture ready, it’s time to shape your incense. Roll the blend into cones, cylinders, or sticks – let your intuition guide you. Place your creations on a tray and allow them to dry in a cool, dry space for several days. This patience is rewarded with incense that burns smoothly and releases its aroma gorgeously.
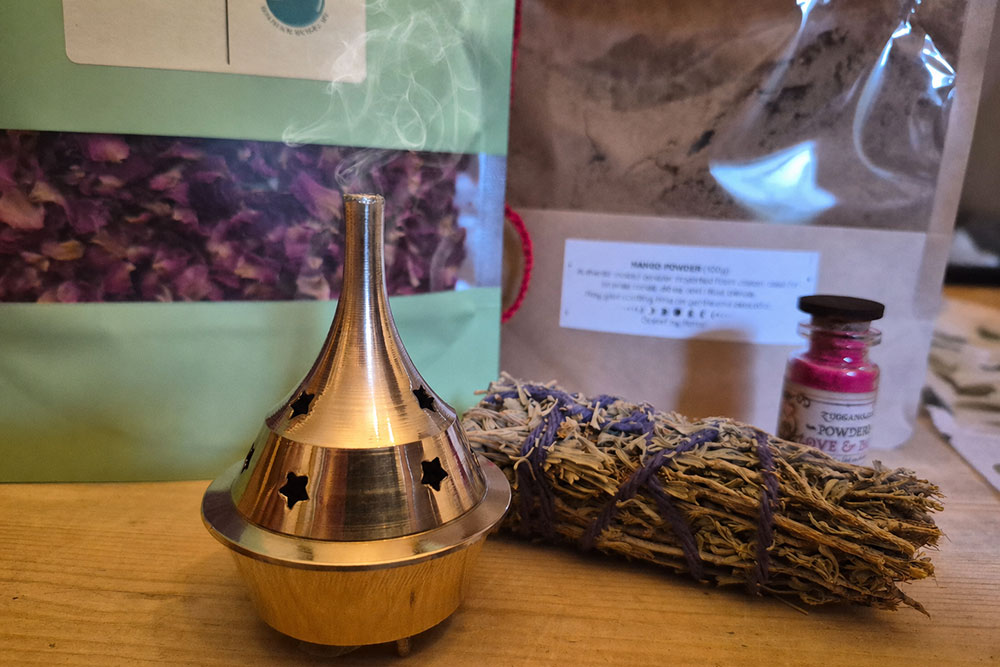
Mindful Ignition
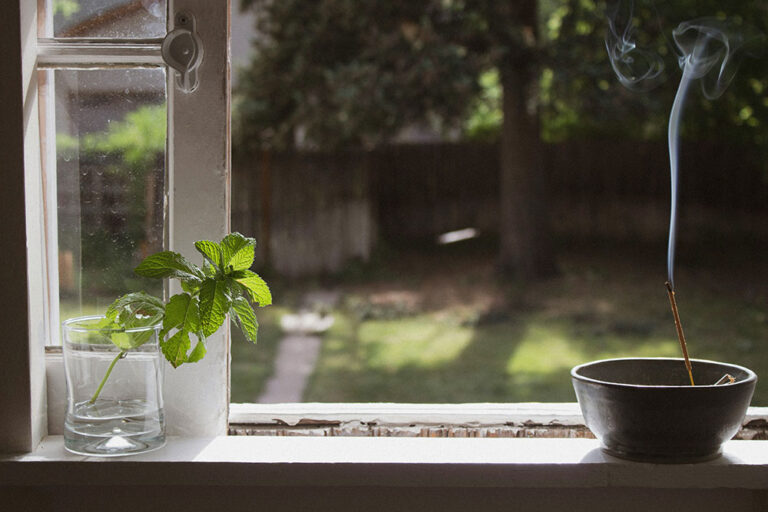
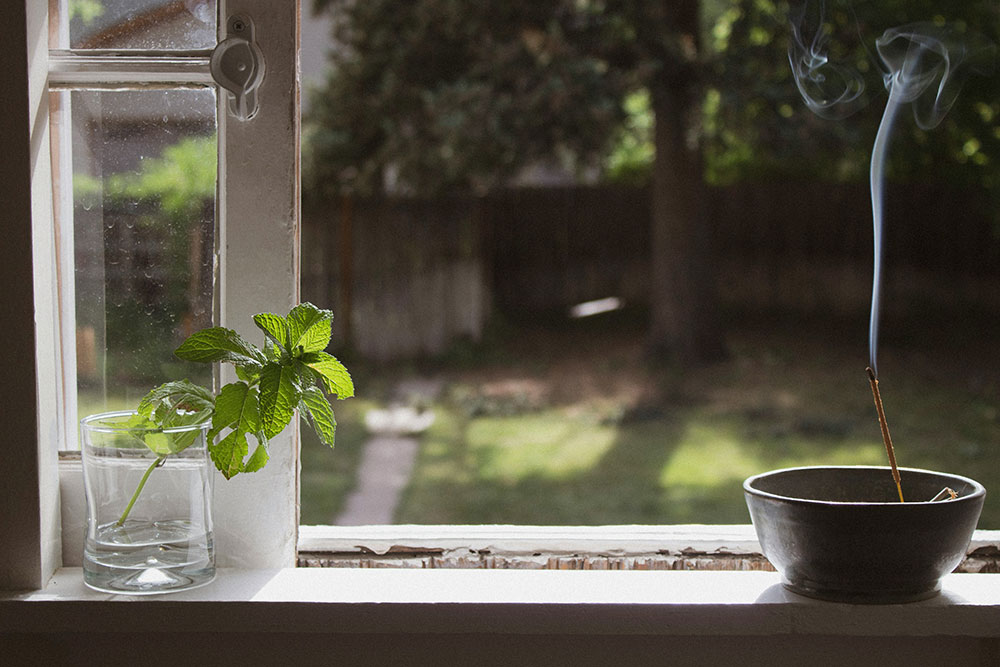
When the moment arrives to light your incense, treat the process with reverence; you created it after all! Choose a heat-resistant vessel, such as an incense holder or a bowl filled with sand, to catch falling ash. Light the tip of your incense and allow it to burn for a moment before gently blowing out the flame. As the aromatic smoke curls upward, breathe it all in; a fragrant firework that you can be proud of taking the time to create.
If like me you’d prefer something a little more precise and direct so you can choose what suits you, here’s something a little easier to follow:
For Loose Incense (Oldest form)
What it is:
Raw mixture of resins, herbs, and woods burned on charcoal. Used in ancient traditions like Ancient Egypt and churches.
Ingredients:
Coarsely crushed resins.
Dried herbs/flowers.
Wood chips or powder.
Method:
Grind resins lightly if in larger chunks (don’t powder).
Mix with herbs and woods if you want to bring lots of scents together.
Store and let blend “cure” for a few days.
Burning:
Place on a hot charcoal disc.
Pros:
Pure, customisable scent.
No binders needed, just sometimes a little crushing and you’re good to start.
Cons:
Requires charcoal.
More smoke; can get a bit much inside the house at first.
For Incense Cones
What they are:
Self-burning moulded incense shaped into cones.
Ingredients:
Fine powdered aromatics (fragrance layer such as frankincense, myrrh, lavender, sage etc).
Binder (makko is best).
Water or floral water (optional, very cool upgrade).
Basic ratio:
70–80% aromatic materials.
20–30% binder.
Method:
Grind all ingredients into a fine powder if not powdered already.
Mix dry ingredients thoroughly.
Add water slowly until dough-like.
Shape into cones by hand or place into a mold (harder to do by hand).
Dry for 3–7 days (very important).
Pros:
No charcoal needed.
Portable and easy.
Cons:
Can burn unevenly if not mixed well.
This one is best with a mold so may need to invest in one.
For Incense Sticks
What they are:
Thin Bamboo sticks with an aromatic, combustible paste wrapped around it.
Ingredients:
Wood powder or Charcoal powder.
Binder (Makko, guar gum, jigat etc)
Aromatics (again, your fragrance layer such as frankincense, myrrh, lavender, sage etc).
Water or floral water (optional, very cool upgrade).
Basic ratio:
40% wood powder.
30% binder.
20% charcoal powder.
10% aromatics.
Water – enough to form paste.
You can tweak this depending on burn and scent strength.
Method:
Grind everything very fine (maybe even sieve).
Mix dry ingredients, combining wood powders, binders, charcoal and aromatics until uniform.
Add water slowly until it becomes like a soft dough – not too wet, not crumbly.
Divide your mix into several smaller balls.
Roll into stick shapes or use a stick mold if you have one (you can get devices that do this bit for you but they can be a little pricey).
Try to get even thickness – this is important for burning.
Dry for 3-7 days in well-ventilated space.
Optional extra – you can dip the fully dried sticks into an essential oil blend for extra fragrance (dry again for an extra 2-3 days if you do this).
Pros:
Faster production.
Cons:
Paste must be perfectly smooth.
Below is a rough table of possible problems, what the cause could be, and potential fixes:
| Problem | Cause | Fix |
|---|---|---|
| Won’t stay lit | Too little charcoal | Add more fuel |
| Burns too fast | Too much charcoal | Add more wood |
| Cracking | Too dry / bad binder | Increase binder |
| Weak smell | Too little aromatics | Increase fragrance |
Making Your Own vs Shop-Bought
Store-bought incense is convenient, but homemade incense is expressive; it’s less about consuming a scent and more about creating one. Making your own incense isn’t just a crafty alternative to store-bought, it changes the whole relationship you have with scent, ritual, and even your environment. The difference goes far beyond cost or convenience.
First, control is a big deal. Most commercial incense (especially cheaper varieties) often contains synthetic fragrances, fillers, and sometimes questionable binders. When you make your own, you decide exactly what goes in – pure resins, woods, herbs, and essential oils. That means no mystery smoke, no artificial after-smell, and a much cleaner, more natural burn.
There’s also the sensory depth; handmade incense tends to smell richer and more layered because you’re working with raw materials instead of pre-mixed fragrance oils. Ingredients like frankincense, sandalwood, or dried lavender release scent differently when burned in their natural form. The result feels more grounded and less “perfume-like.”
Another advantage is personalisation (my favourite bit). Store-bought incense is limited to whatever scents are trending or mass-produced. When you make your own, you can tailor blends to your mood, intention, or even time of day. Energising blends with citrus and herbs, calming ones with florals and resins, or something completely unique that doesn’t exist anywhere else.
There’s also a mindfulness element. The process itself – grinding, mixing, shaping – forces you to slow down and engage your senses. It turns incense from a passive product into an active ritual and for many people, that creative involvement is just as valuable as the final scent.
Cost can go either way depending on ingredients, but over time, making your own can actually be more economical, especially if you reuse base materials and buy in bulk. More importantly, you’re investing in quality rather than paying for branding and packaging.
Finally, there’s a subtle but real satisfaction in burning something you created yourself. It adds meaning. Instead of lighting a generic stick, you’re experiencing something personal, intentional, and crafted.
At its core, incense making is just about taking time; time to focus, create, and enjoy the process. It’s simple, hands-on, and personal, and when it’s finished the scent doesn’t just fill the room, it reflects the time and intention you put into it. So give this lost art a go and see how you get on. I took the opportunity to do this with my 7 year old son and he absolutely loved it! It was so heart-warming to do together and now we have some beautiful incense to burn – let’s bring this lost art back and enjoy filling our spaces with our own creations.